
Add users and set permissions
Add everyone on your team, give each person a role, fine-tune what they can see and do, and turn access off the day someone leaves.
Free forever Not a trial. No card, no contract, unlimited staff. Card payments cost 3.9% + 30¢. Our promise →
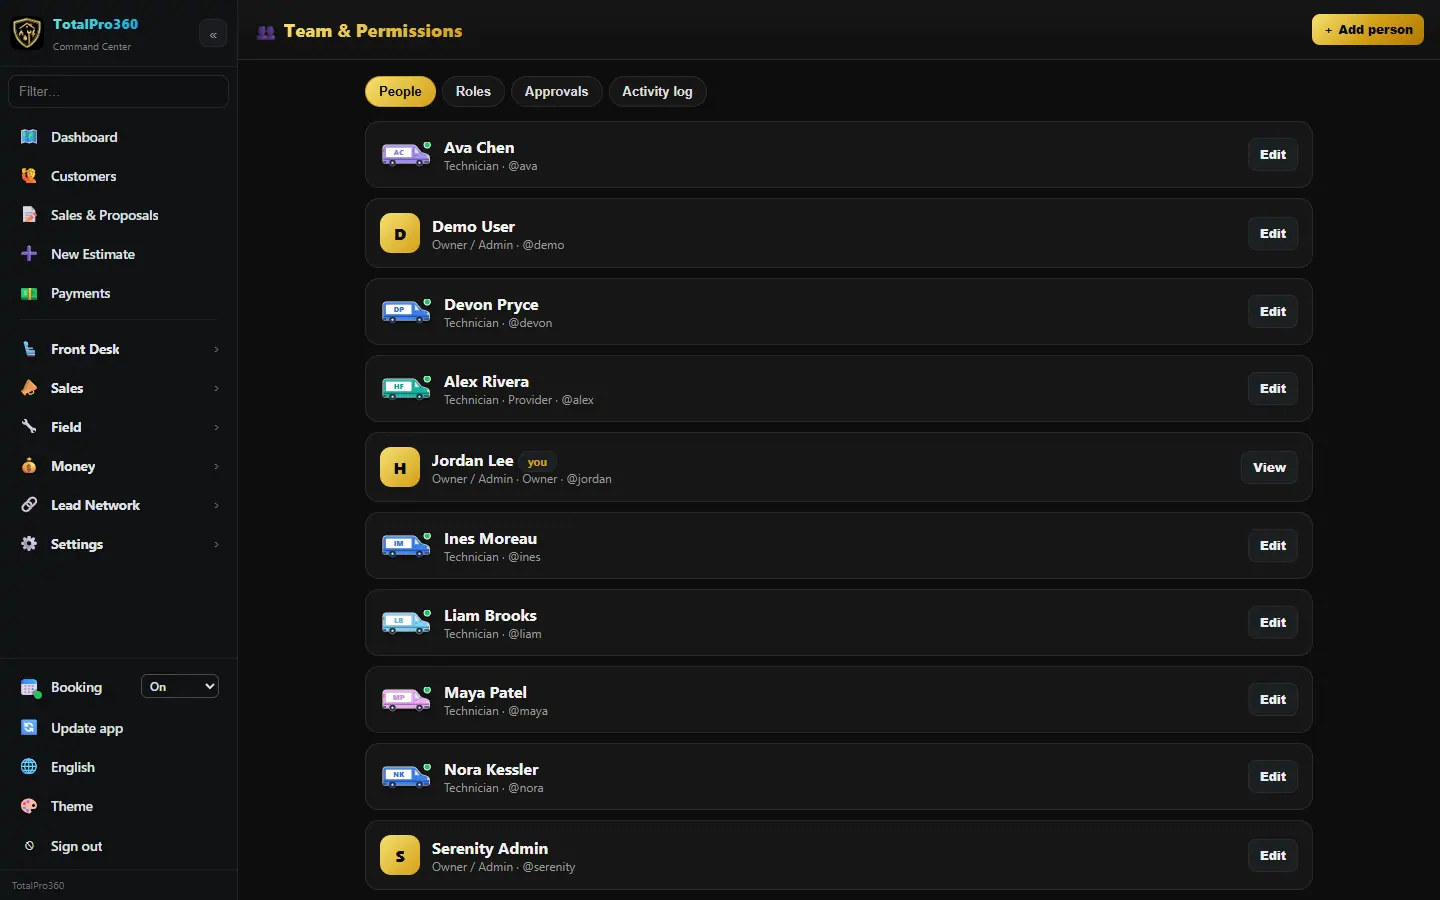
Step 1: Open your team list
Go to Settings → Users & Permissions, or Staff & Products → My Staff. You’ll see everyone with access, their role and whether they’re active.
Step 2: Add a person
Click + Add person, or use Staff & Products → Add Staff Member in the menu, which opens the same form. Enter first and last name, email and phone, and a username. Set a temporary password, or save and use Email a set-password link so they choose their own. If you set the password, they sign in with that username and password, and the screen shows where they sign in after you save. Passwords can’t start or end with a space.
Step 3: Pick a role
Roles are presets that switch on the right permissions, named for your kind of business: Owner / Admin, Manager, Front Desk, Front Desk & Checkout, Sales / Consultations, Bookkeeper, your provider role, Lead provider / Manager, Booth Renter / Contractor and Read-only.
The provider role takes your trade’s word: Stylist for a salon, Barber, Nail Tech, Massage Therapist, or Provider when you offer a mix (a spa, for example). Auto shops keep Technician, Service Advisor and Shop Foreman / Lead Tech. A mobile business sees Scheduler instead of Front Desk. The permission list underneath uses the same words: clients, appointments and staff.
A provider who signs in lands in the provider app, not the office screens.
Step 4: Fine-tune permissions
Open the person and adjust individual Permissions if the preset isn’t quite right, for example letting a dispatcher see payments but not the books. The permissions are grouped into sections that start folded up, and each section header shows how many items are on (for example 5 of 8 on) and how many you’ve made custom for this person. Click a section to open it, or use Expand all and Collapse all above the list. Click Save. Permission changes are logged.
Front Desk and Front Desk & Checkout can book and check clients out, but they never get Accounting, payroll, pay rates, commissions or the financial reports (owner dashboard, revenue, service profitability). Those show as 🔒 locked off for this role. If someone at the desk needs the books, give them the Bookkeeper or Manager role instead. The same goes for the field side: providers, lead providers and booth renters don’t get Accounting, payroll, pay rates, job costing or financial reports. They keep their app, their own appointments and their own time.
Step 5: Make your own roles
If the built-in roles don’t fit how your business works, make your own, like Groomer, Senior Stylist or Assistant Manager. Open the Roles tab and click + New role, or click Copy on a built-in role. Give it a name, then tick what it can do and click Create role.
Your roles show at the top of the Roles tab with how many people are on each, and under Your roles in the Role list when you add or edit a person. Each person can still have their own Allow or Deny changes on top.
Click Edit on one of your roles to rename it or change what it can do. The change applies to everyone on it right away, and their own Allow or Deny changes stay. Click Archive to retire a role. If anyone is on it, you pick the role to move them to first.
The built-in roles can’t be changed, only copied. Only owners and admins can make or change roles, and a role can’t include anything you don’t have yourself. Some items stay locked for a kind of role: for example, a role copied from a provider or the front desk never gets the books or payroll.
Step 6: Do the work yourself too? Turn on “I also do services”
If you own the business and also see clients, open your own name on this page and tick I also do services. You then show in the Appointment Book, on your online booking page, as a staff card and in commissions, so clients can book you. You can do any service that doesn’t list who does it; the ones that do get you added. Your hours follow the shop’s opening hours until you set your own in the service menu.
Untick it to hide yourself from booking. Your past appointments and history stay. The owner can turn it on for anyone else from their profile too (Also does services), including a Front Desk or manager who also takes clients. When you add a person, tick Does services on the form to do it in one step. Providers are always bookable. New accounts see this as a step in the setup checklist.
Step 7: Approve estimates that need sign-off
If a role can create estimates but needs approval to send them, they show under Estimates waiting for approval on this page. Click Approve or Decline.
Step 8: Reset a password, delete someone, or mark an outside accountant
Open the person to reset their password, click Sign out of all devices if a phone is lost, or click Deactivate when someone leaves. Deactivated users can’t sign in, and their history stays on the jobs they worked.
Delete user removes someone for good. Their sign-in stops right away on every device, and they come off your team list, the appointment book, staff lists and on-call. If they have upcoming work, you pick who gets it or leave it unassigned. Past work, notes and the activity log keep their name, shown as “Name (removed)”. You can’t delete yourself or your only owner.
Not on your staff? Open the person and pick Outside accountant, Outside advisor or Outside person (The Compendium) under Not on your staff?. They’re listed separately, aren’t counted as staff, and never show in tech, dispatch, phone, on-call or scheduling lists. Their access stays what their permissions say.
Someone from The Compendium helping you: pick the role Outside person (The Compendium) when you add them. They get full access except the owner-only items, so they can set things up and fix things with you, and they’re marked as outside automatically. You can change their role or switch any permission off at any time. Only the owner can give this role.
Someone already has a login: each email and username can only have one login on your team. If you add a person whose email is already there, you’ll see who has it instead of an error.
Step 9: Give each provider a color or a photo
In a salon, spa or other in-store business, each provider shows as a staff card in their color, with your logo and their initials, or as their photo if you add one. On this page, click the card next to a provider’s name (or open the person and find Staff card & photo) to pick a Color, set a Display name or Upload photo.
If your business goes to clients (see in-store or mobile), providers show as a colored van instead, on the team list, the board, the dashboard map and the provider app.
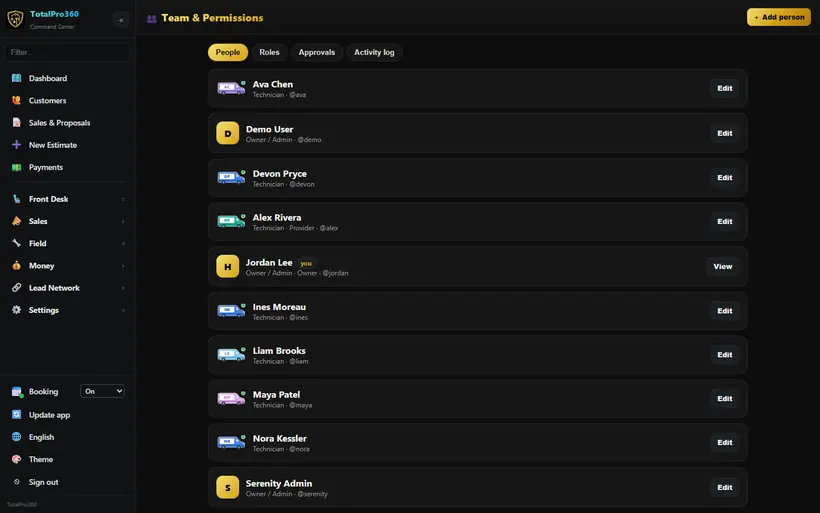
Real screen from the demo account; names and numbers are sample data. Step 10: Clock someone out from the office
If someone forgot to clock out, find them under On the clock now on this page and click Clock out. The time tracking guide walks through the dialog.
Still stuck? Tell us what you were trying to do and where you got stuck. A screenshot helps.
Your ticks are saved in this browser only. Updated October 2026.
Questions about this
Do I pay per user?
No. Users are unlimited and free, including techs, providers and office staff.