
Manage clients
Find any client, see their visits, notes, forms and balance, and keep formulas and before-and-after photos on file.
Free forever Not a trial. No card, no contract, unlimited staff. Card payments cost 3.9% + 30¢. Our promise →
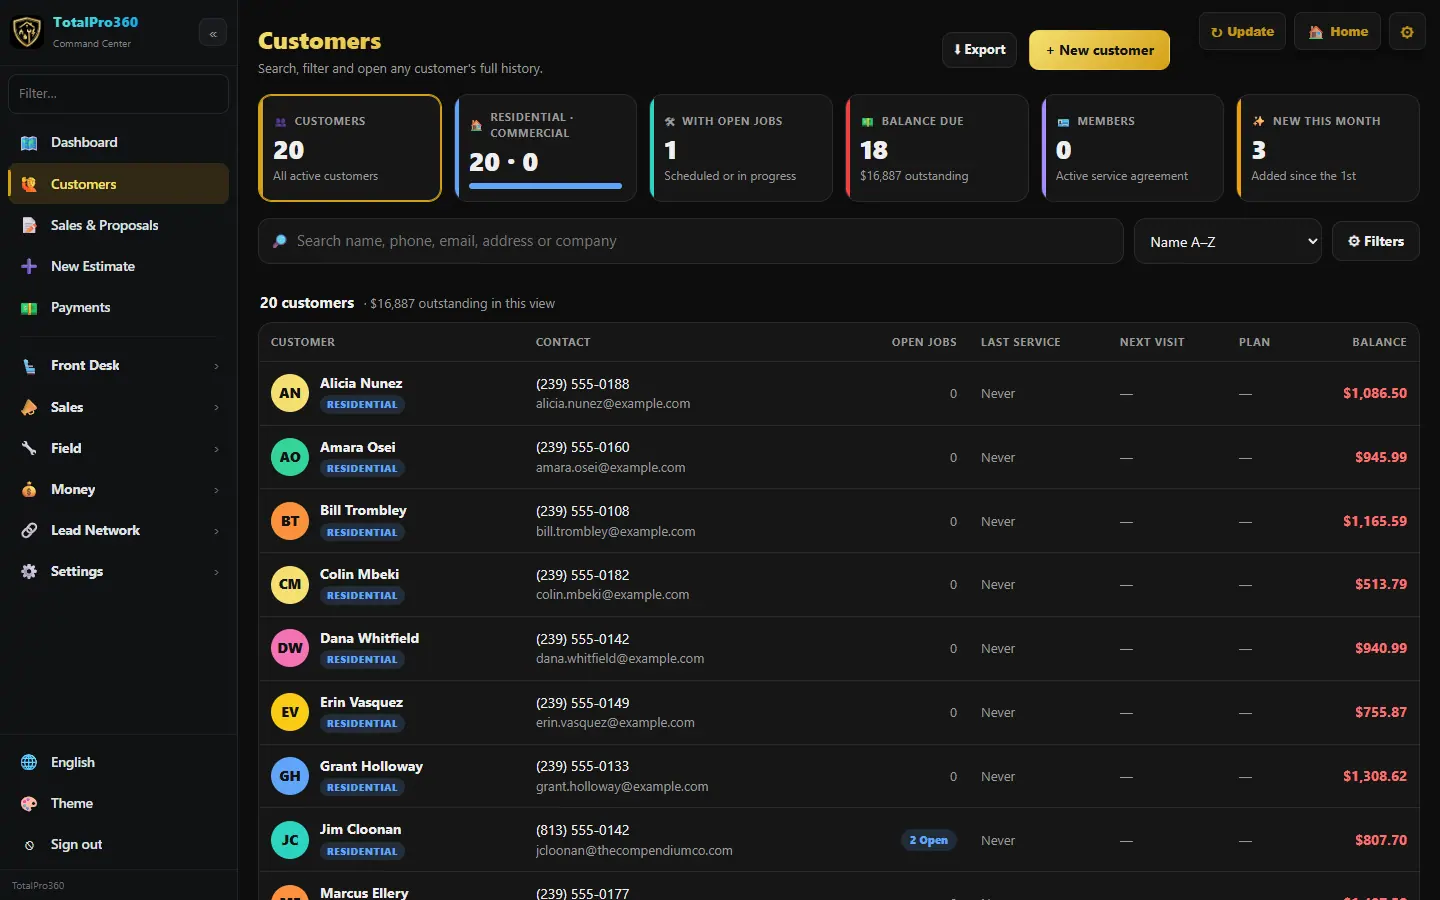
Step 1: Search your clients
Open Customers. The cards at the top show totals. Type a name, phone, email, address or company in the search box, or use Filters and the sort menu.
Step 2: Add a client
Click + New customer, enter their name, phone, email and address, and save.
When you finish typing an address, it’s checked against US postal data. If there’s a better match you’ll see Did you mean with the suggested address; click Use suggested or Keep what I typed. A good address shows ✓ Address verified with Residential or Commercial, and an Add ZIP+4 button when the ZIP has no +4. If it can’t find the address you get a gentle warning to double-check the street and ZIP. It never stops you saving. The same check runs on every address form in the app.
Phone numbers and emails you enter here are what reminders and pay links use, so double-check them.
Step 3: Open the client record
Click any client. The top shows lifetime spend, balance due, Visits, Last visit and Next visit. The 📅 Visits card lists what’s coming up and their past visits with the service, the provider and the status; click one to open it in the Appointment Book. + Book appointment opens the booking sheet with the client already filled in, so you pick the service, provider and a time that’s actually free.
The 🎁 Credits & cards card shows packages and sessions left, gift cards they bought, a saved card, no-shows and late cancels, and pinned formulas, allergies and notes. Memberships show in the gold bar at the top. Click Formulas, photos & forms to add formulas, notes and private before-and-after photos (Front Desk → Client Profiles).
Step 4: Use the quick actions
The Quick actions box on the client’s page handles the everyday jobs in a click or two:
- Tags: click + Add tag, then pick a tag or type a new name to create it, with a color. Click the × on a tag to take it off this client. To rename or delete a tag for everyone, click Manage tags in the same pop-up; each tag shows how many clients it’s used on.
- Preferred provider: click ★ Set preferred staff member and pick someone. Their name shows as a ★ chip, and new appointments you start from here begin with them picked.
- Assign tech: shows this client’s open appointments so you can hand one to a provider, and has New job for this customer: a job title, type, trade, date, time window and provider, then Create job.
Step 5: See archived clients and restore one
Archive (in Edit) takes a client off your list but keeps all their history. To see them again, click 🗄 Archived at the top of the list, search if you need to, and click Restore to put one back.
Step 6: Merge a duplicate client
If the same person was added twice, open the record you want to keep and click ⇄ Merge duplicate. Search for the other record and pick it. You’ll see both side by side and what moves: appointments, invoices, payments, notes, cards on file and everything else. Missing phone, email or address details are filled in from the copy. Click Merge, and the copy is archived; nothing is deleted.
Wrong way round? Click Keep … instead. Only owners, admins and managers can merge. A record linked to QuickBooks has to be the one you keep.
Step 7: Use tags, notes and tasks
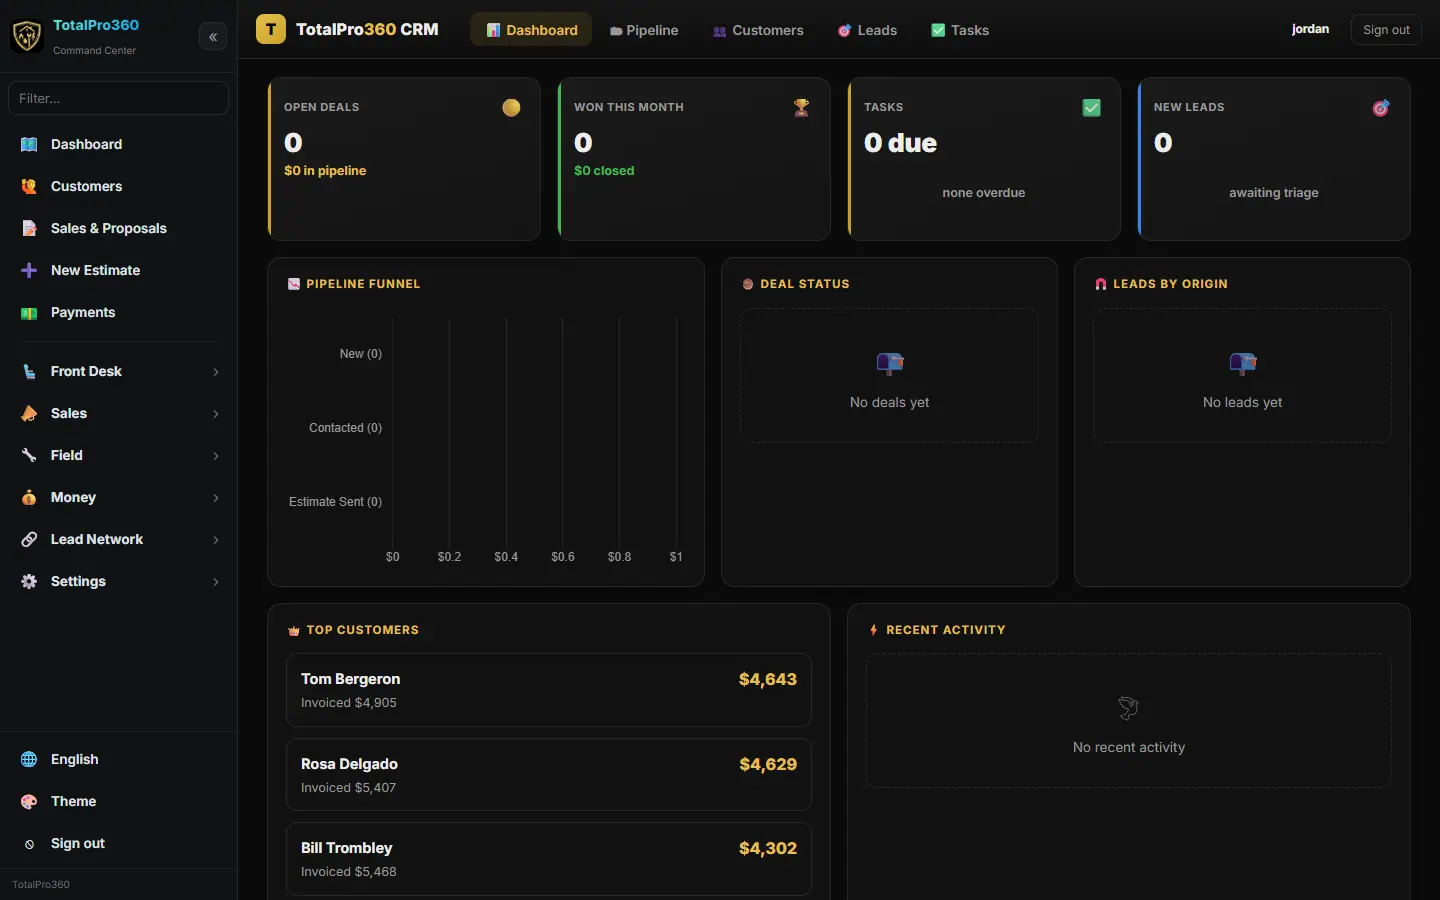
Open Sales → Customer list for tags, notes, tasks and activity on each client. Tags let you build marketing lists later, and tasks remind your team to follow up.
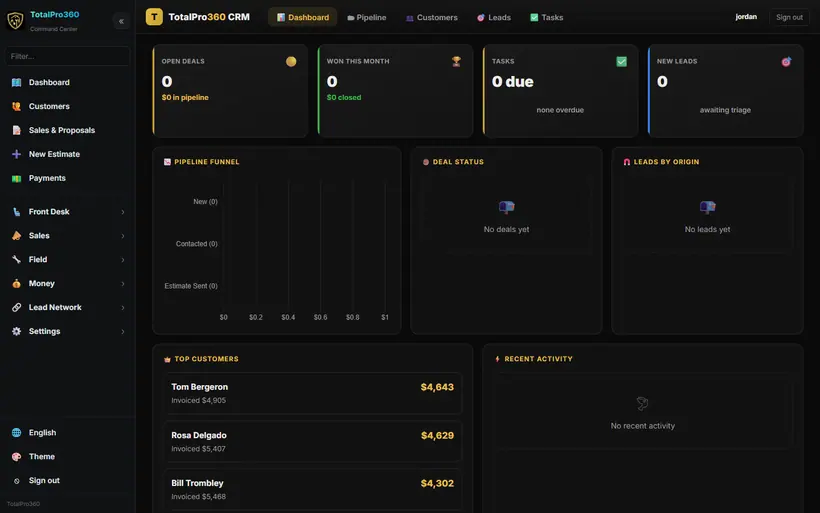
Real screen from the demo account; names and numbers are sample data. Step 8: Property managers, buildings and tenants
Some clients are a manager that pays for several locations or people. Open the client and use 🏢 Properties & tenants: + Client account adds the people or businesses they pay for, and + Property / building / suite adds each location. Visits and invoices stay billed to the manager and show which location or person they were for, and searching any of them finds the manager.
Step 9: Everything about a client on one page
Everything about a client is on one page. The header stays at the top: name, type, phone, email and address, then a details row with how they’re billed (and their labor rate and when it expires), who gets the bill if a property manager pays, how many sites they have, their plan, who referred them, whether their client app is connected and what they owe. Gate codes and other site notes show in yellow.
Under the header, tabs with counts hold the rest: Overview (history and quick actions), Sites & tenants, Jobs, Won work & proposals, Invoices & payments (with aging), Plans, Calls & messages, Files & photos, Notes, Callbacks, Referrals, Purchase orders (if you can see costs) and Portal. Tabs load when you open them, so the page stays fast.
Step 10: Mark a client tax exempt
For a church, nonprofit, school, government office or a reseller, click Edit on the client’s page (or fill it in when you add them) and tick Tax exempt. Pick the reason, type the certificate number (in Florida, the number on the DR-14 Consumer’s Certificate of Exemption), add the date it expires and upload a PDF or photo of the certificate, then save.
The client’s page shows a Tax exempt badge and a View certificate link. From then on their new quotes, invoices and checkouts get no sales tax, and a draft drops its tax the next time it’s saved. The invoice and quote show Tax exempt — Certificate # with the number. Invoices that were already sent or paid, and anything brought in from QuickBooks, don’t change.
When the expiry date has passed you’ll see a warning on the client’s page. Tax still stays off until you untick the box, so ask the client for a current certificate.
Step 11: Export a list
Click Export on the clients page to download the current view as a spreadsheet.
Still stuck? Tell us what you were trying to do and where you got stuck. A screenshot helps.
Your ticks are saved in this browser only. Updated October 2026.
Questions about this
What is the Customer list? Is it the old CRM?
Yes. The Customer list is what we used to call the CRM. It keeps every customer and lead in one place with tags, notes, follow-up tasks and their deals. Every quote or proposal you send becomes a deal there and moves by itself as it’s viewed, accepted, scheduled and invoiced. Open it from the Customer list button on Quotes & Treatment Plans (TotalPro360) or Sales & Proposals (MyHomeService360), or from Sales in the side menu.
Do commercial customers get the homeowner app?
No. The homeowner app is for residential customers. Commercial accounts, property managers and their clients still get pay-a-bill, proposal and invoice links. For residential customers you choose what shows in their Home Book: each unit has a Show in the homeowner’s Home Book switch, and notes are only shared when you tick Share with the homeowner.
Can my clients see my notes?
No. Internal notes and your pricing stay private. Clients see their own appointments, receipts and forms in the free client app.